Getting a phone number and SIM in Japan
Get a Japanese number in your first weeks so your bank, apps and deliveries can reach you. Here's what to bring to the shop, what the main plans cost, and how to hang on to your number from home.
AbroadPin team7 min read
Contents
A phone line is one of the first things you'll need after you land, and one of the few that's easy to get wrong in the wrong order. Japanese carriers check your identity closely, so a proper contract with a phone number usually waits until your residence card and address are sorted. Until then, a short-term option keeps you online. This page walks through both stages, the carriers, what the plans cost and what to do about the number you already have. For pay, visas and employers, see the main guide to teaching in Japan.
Stage one: getting online when you land
On the day you arrive you probably won't have everything a carrier wants for a full contract. Most teachers bridge the gap in one of these ways:
- A travel eSIM or pocket Wi-Fi bought before you fly. These give you maps and messaging from the airport onward. They're internet-only, so they won't give you a Japanese number for calls.
- A low-commitment Japanese eSIM. povo, a budget brand on the au network, advertises plans that start from a ¥0 base fee, with data bought as add-ons it calls toppings [5]. The ¥0 base fee applies to online sign-ups, and povo sets conditions for keeping the line past 180 days [5]. Its eSIM can be switched on the same day at the earliest, and its internet-only plan comes as eSIM only [5]. Check what ID its sign-up asks for before you count on it in week one.
- School Wi-Fi and your apartment connection. Ask your school whether there's staff Wi-Fi and whether your apartment already has internet. Many teachers get through the first days on Wi-Fi alone.
Treat stage one as temporary. The things that need a real Japanese number, covered below, come up within a few weeks.
What a phone shop asks for
Carriers check ID closely under Japanese law. docomo's sign-up page cites the Act for Prevention of Improper Use of Mobile Phones, in force since 1 April 2006 [1]. Here's what its English pages say you'll need, which gives a good idea of what any carrier will ask:
- Original ID with your current address. docomo lists a Japanese driver's licence or a My Number Card as examples, and says photocopies aren't accepted [1].
- Your residence card and passport. Foreign residents show the residence card and their foreign passport as well as the ID document [2]. Permanent residents don't need the passport [2].
- A way to pay in your own name. docomo asks for a credit card or bank card in the subscriber's name [1].
- Enough time left on your stay. If you can't show a residence card, or less than three months remain on your period of stay, docomo says you must pay by credit card in your own name [2].
- Extra papers if asked. docomo says it may ask for more documents even when you meet the list [2].
A few practical points follow from this:
- Register your address first. The shop wants ID that shows where you live now, so go to the city office before the phone shop.
- Your bank and phone can depend on each other. Some banks want a Japanese phone number and the carrier wants a bank card or credit card. A credit card from home in your own name can break the loop, so check whether the carrier you choose accepts foreign cards.
- Buying the handset in installments can be harder. If your residence card expires before the end of an installment plan, docomo says you may not be able to use one [2]. Bringing an unlocked phone avoids the question.
- Budget for the sign-up fee. docomo charges a contract handling fee of ¥4,950 including tax for a new line [1].
The main carriers
Japan has four networks with their own shops: docomo, au (run by KDDI), SoftBank and Rakuten Mobile. The first three also run cheaper online brands: ahamo on docomo, povo on au and LINEMO on SoftBank. The online brands cost less but you sign up and get help mostly through an app or website, and much of that is in Japanese.
The prices below are the carriers' own, including tax, as their pages showed them when we read them on 5 November 2026 [3] [5] [6].
| Plan | Monthly price | What you get |
|---|---|---|
| ahamo (docomo) | ¥2,970 [3] | 30GB, plus domestic calls of up to 5 minutes free [3] |
| ahamo from 1 December 2026 | ¥3,135, ¥4,125 or ¥5,115 [3] | Up to 40GB, 60GB or 120GB [3] |
| povo (au) | ¥0 base fee, plus toppings [5] | For example, a one-year topping povo describes as effectively 30GB a month for ¥2,200 [5] |
| Rakuten Mobile, with its family discount | ¥968, ¥2,068 or ¥3,168 [6] | Up to 3GB, up to 20GB, or unlimited [6] |
Some notes on reading the table:
- ahamo is changing its prices. From 1 December 2026, ahamo moves to the three tiers in the table, and its 80GB add-on option closes on 30 November 2026 [3]. Until then, that option costs ¥1,980 a month on top of the base plan, for 110GB at ¥4,950 [3].
- Rakuten Mobile's headline prices assume a discount. The figures its plan page shows are with its Saikyo family discount applied [6]. Ask for the price without it if you're signing up alone.
- LINEMO advertises a 20GB plan and charges ¥22 per 30 seconds for calls [4]. We couldn't confirm its monthly price on the page we read, so check it there.
- The big-brand plans at docomo, au and SoftBank shops cost more but come with counter help, which can be worth it for your first contract.
eSIM or a physical SIM
An eSIM saves a trip to the shop. LINEMO says that on an eSIM-ready phone you finish setup by scanning a QR code after you apply, and that you need a compatible phone to use it [4]. povo says its eSIM can be working the same day at the earliest [5].
Before you choose eSIM, check two things on the phone you're bringing:
- It's unlocked. A phone locked to your carrier at home won't take a Japanese SIM or eSIM.
- It supports eSIM. Most recent phones do, but older or budget models may not.
If either answer is no, a physical SIM from a shop, or a new phone, is the simpler route.
Why a Japanese number matters
A travel eSIM keeps you online, but plenty of daily life in Japan expects a domestic number:
- Banking. Some banks ask for a Japanese phone number when you open an account, and many send security codes by text.
- Payment apps. Phone-number sign-up is common for the apps that cover a lot of everyday spending.
- Deliveries and appointments. Couriers, clinics and the city office often call when there's a problem, and a missed-delivery slip usually means arranging a new time by phone or online.
- Your school and your landlord. Staff will want a number to reach you on days you're out or sick, and a rental application usually asks for one.
So aim to have a contract line, with a number, by the end of your first few weeks.
Keeping your home number
Many services back home, from your bank to tax and student loan accounts, send sign-in codes to the number they have on file. Losing that number can lock you out at an awkward moment. Before you leave:
- Ask your home carrier about keeping the number. Some offer a low-cost plan or a way to park a number. Ask what it costs a month and what roaming charges apply if a text arrives while you're in Japan.
- Use a dual-SIM phone. With a Japanese eSIM and your home SIM, or the other way round, you can keep both numbers on one phone and switch the home line's mobile data off.
- Move sign-in codes where you can. Some services let you switch from text codes to an authenticator app. Doing that before you fly means you depend less on the home number.
Inside Japan, you can usually take your Japanese number with you when you change carriers. Ask about this at the shop or in the carrier's app before you cancel anything.
Putting it together
- Before you fly, check your phone is unlocked and supports eSIM, and sort out your home number.
- On arrival, get online with a travel eSIM, pocket Wi-Fi or a low-commitment eSIM.
- Collect your residence card and register your address at the city office.
- Take your residence card, passport, address ID and a card in your name to a carrier, or apply online, and get a line with a number.
- Give the new number to your school, your bank and your landlord.
Settled in and thinking ahead to your next contract? Browse the open jobs in Japan.
See jobs in Japan
- English Teacher, Central Japan district, based in Nagoya area (ECC Foreign Language Institute)Nagoya · $1,773 a month
- English Literature and Culture Faculty, April 2028 (Sophia University, Tokyo)Tokyo · $2,632 to $3,421 a month
- First-Year Writing Lecturer or Professor, Fall 2027 (Temple University Japan, Tokyo and Kyoto)Tokyo · $2,632 a month
- English Teacher, East Japan district, based in Tokyo area (ECC Foreign Language Institute)Tokyo · $1,773 a month
- English Teacher, West Japan district, based in Osaka area (ECC Foreign Language Institute)Osaka · $1,773 a month
By city: Teaching jobs in Tokyo · Teaching jobs in Chiba · Teaching jobs in Nagoya · Teaching jobs in Koshigaya
Sources and photo credits
- 1.NTT docomo, new subscription (read 5 November 2026)
- 2.NTT docomo, documents verifying identity (read 5 November 2026)
- 3.ahamo, plan and prices, including the 1 December 2026 change (read 5 November 2026)
- 4.LINEMO, plan and eSIM setup (read 5 November 2026)
- 5.povo, plans and eSIM (content as of 31 July 2026, read 5 November 2026)
- 6.Rakuten Mobile, Rakuten Saikyo plan (read 5 November 2026)
Photos
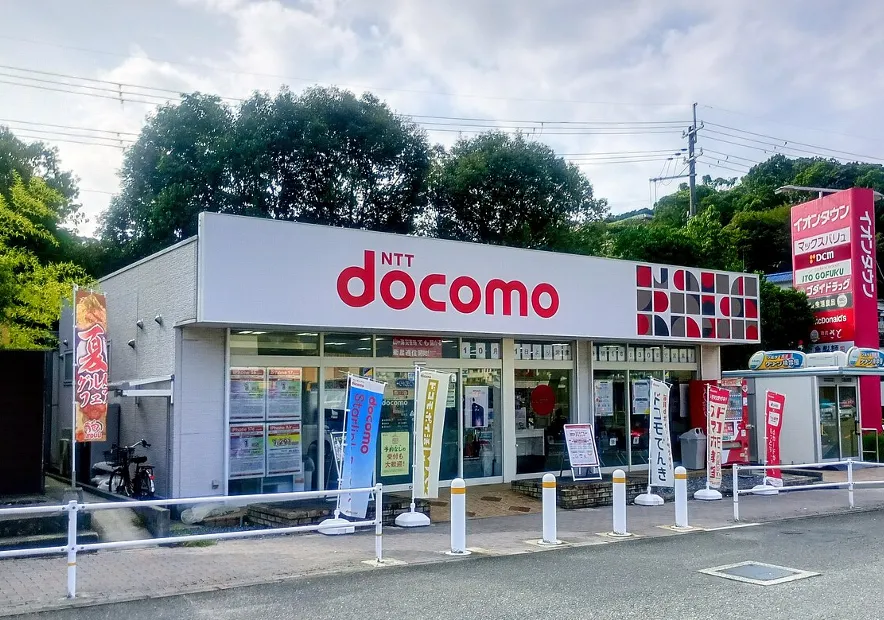
- A docomo shop in Aioi. Bring your residence card when you sign up in a shop.: Chacmool, CC BY-SA 4.0, via Wikimedia Commons
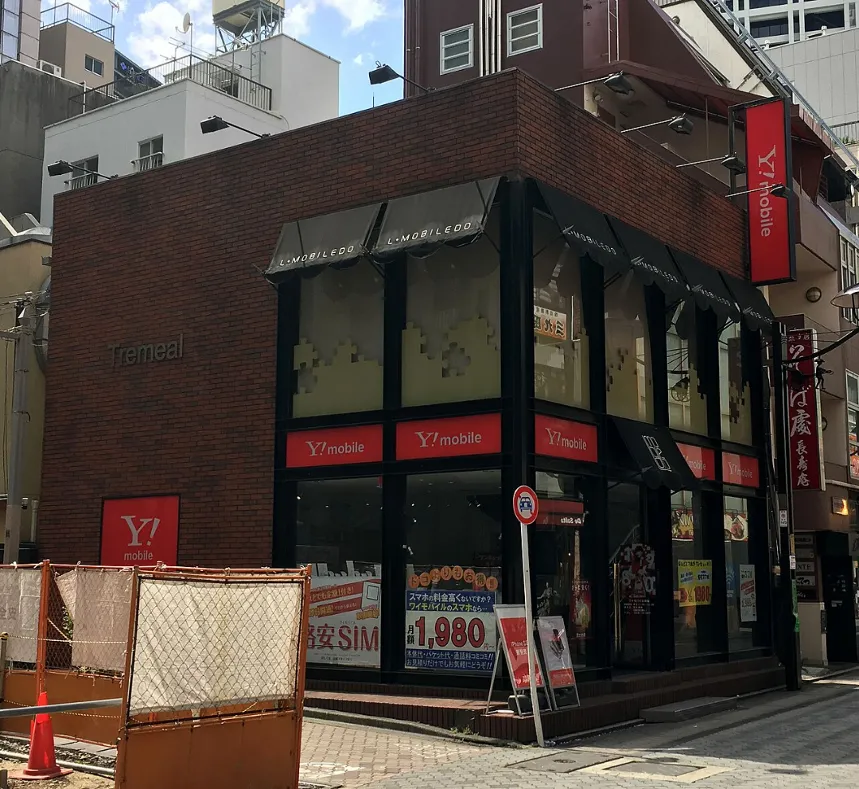
- A Y!mobile shop in Akasaka, Tokyo, with posters for low-cost SIM plans.: Asanagi, CC0, via Wikimedia Commons
Get new jobs in Japan by email
One email a week with the jobs added since the last one. Free, with no account.
Nothing is sent until you open the link we email you. Choose a role, a pay level or daily emails
We use your address only to send the alerts you ask for, and every email has a one-click unsubscribe link. The privacy notice says how long we keep it, and the terms of use cover the alerts.
We check this guide again by December 1, 2026. Rules change, so confirm visa steps with the embassy and your school before you go. First published November 5, 2026. Spotted something out of date? Tell us. How we write these guides.